Deploy Windows Services to a Virtual Machine with Azure DevOps
Lately I have been building a socket server for one of my clients, this has taken the form of a Windows Service since there is no Azure PaaS offering that allows you to accept raw TCP socket connections. The socket server is for an IOT device to send raw TCP packets to for processing.
As part of the project I’ve also been working on the automation side of things. This is an important aspect of the project, since I don’t want to waste time building the project locally, zip, connect to virtual machine, copy file across, unzip, update Windows Service over and over again. Not when machines are much better at repetitive tasks like this.
In this post I’m going to share how to deploy a Windows service from Azure DevOps to a virtual machine.
The tale of the two pipelines
For this project, I decided to split the continuous integration (CI) and continuous deployment (CD) pipelines into two separate pipelines. The CI pipeline will be responsible for building the code, running tests and producing a build artifact for the CD pipeline to deploy.
Continuous Integration (CI) Pipeline
Since this post is about deploying to a virtual machine rather than how to set up and configure a CI pipeline I’m going to gloss over the details, but for completeness sake here is a simplified version of my CI pipeline.
|
|
Configuring virtual machines for deployments
The CD pipeline is the interesting part of this blog post, but before we get into that there is a bit of prep work that needs to be done. Since we are deploying to a virtual machine it will need the Azure DevOps agent running so that our DevOps Project can use it as a resource. This will then allow us to use it as a target in our pipeline.
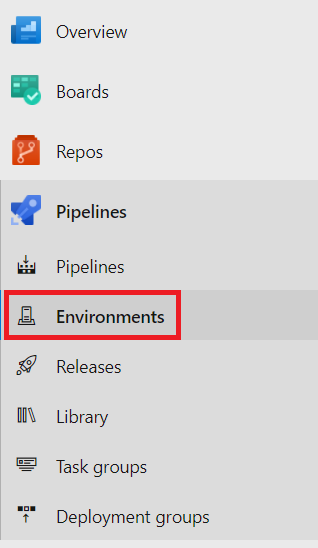
- Go to the Environments page in Azure DevOps

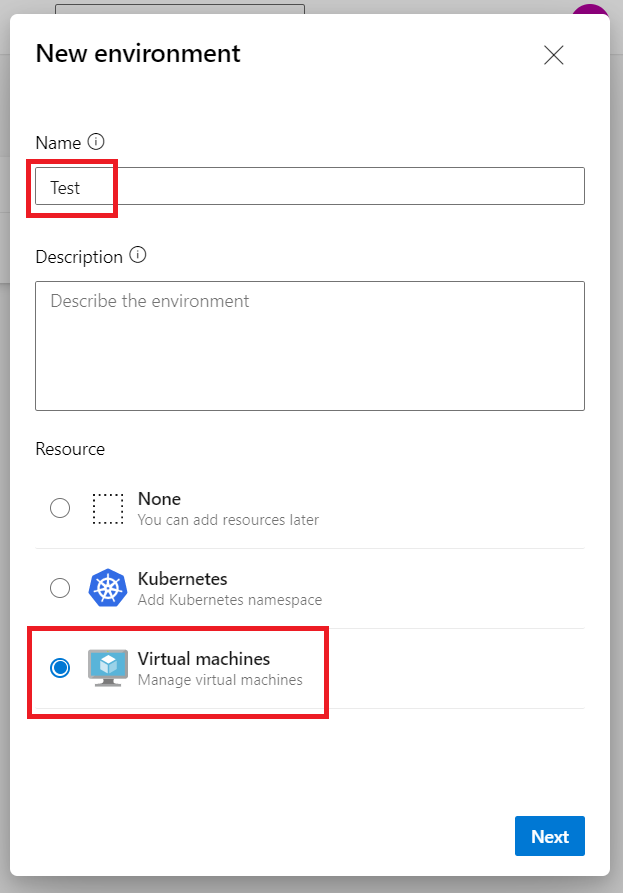
List all Azure DevOps Environments - Click New Environment, I’m going to call this one Test, and select Virtual Machines under Resources. Then click Next.
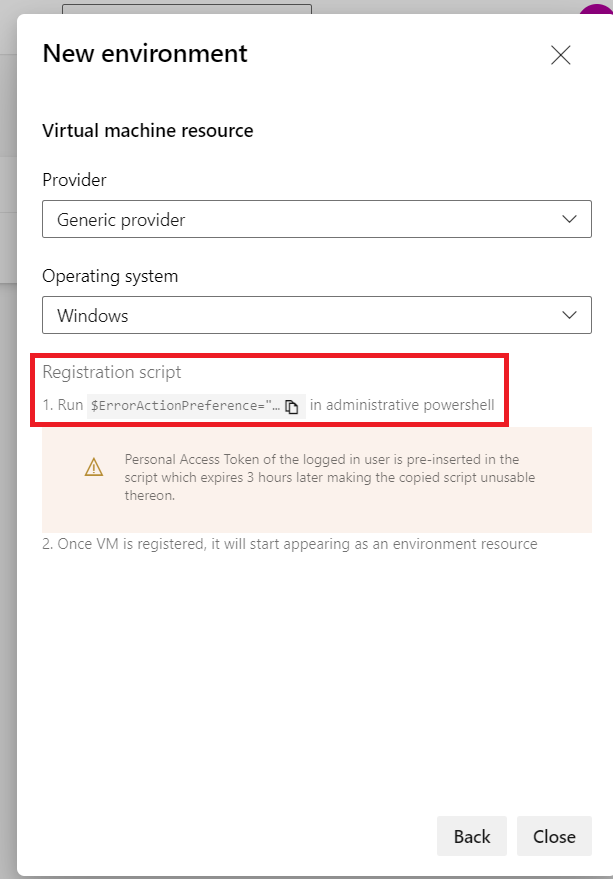
Create new Azure DevOps Environments - With the virtual machine resource created, DevOps then generates a Registration script
Registration script for Azure DevOps Agent - Copy this script to the clipboard and then you’ll need to connect to the virtual machine and run it in an administrative powershell console.
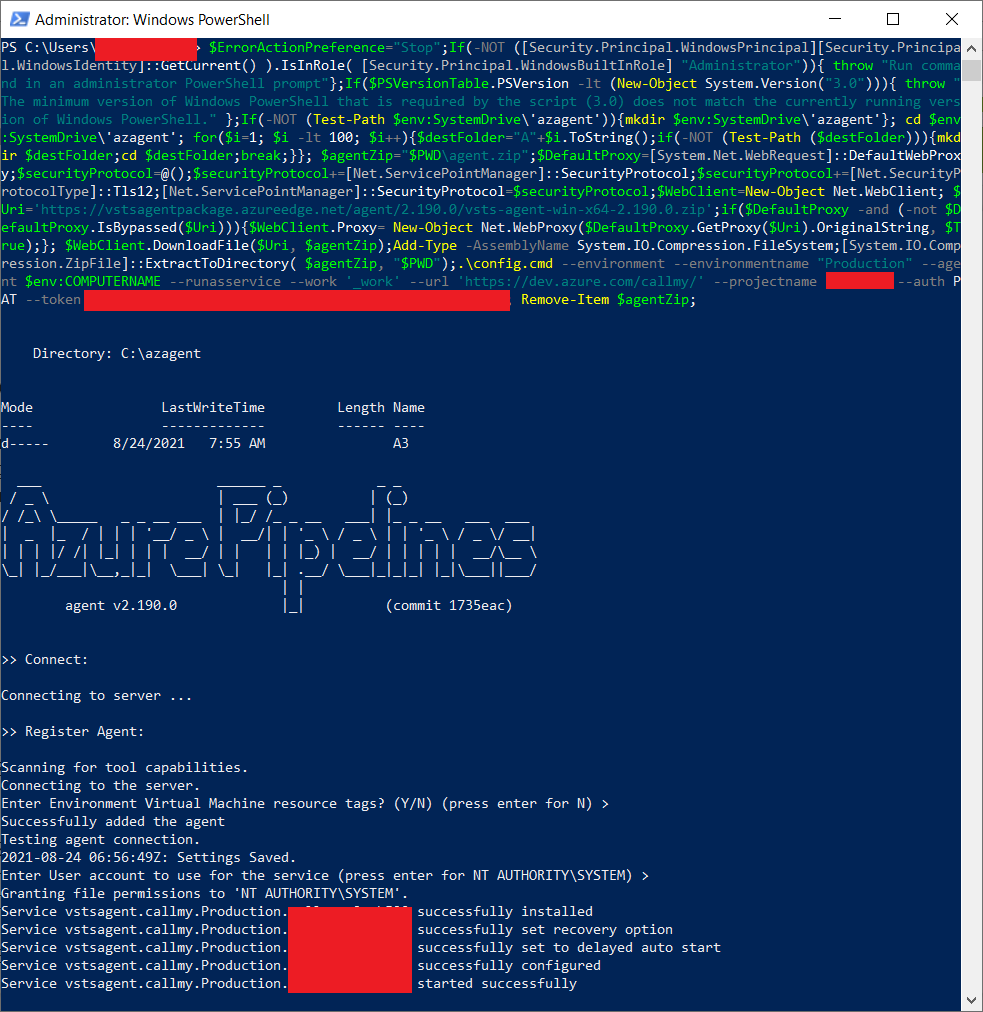
Installing the Azure DevOps agent - With the agent installed, we can return to the DevOps project and see the newly created environment - then repeat the above steps to also create the Production environment
Newly created Azure DevOps environments

Clicking into an environment shows the resources and deployments assosicated with that environment.
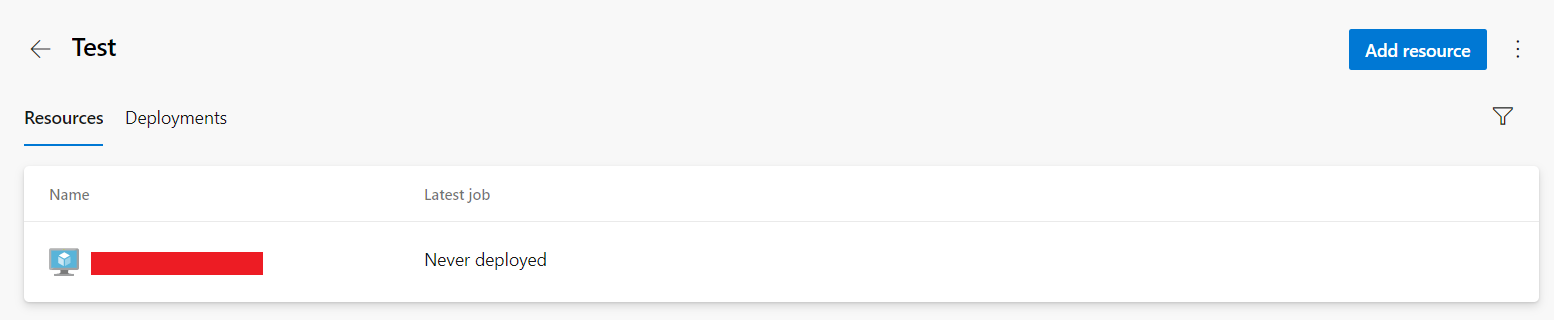
The list of deployments will currently be empty, since the environment has only just been created.
Continuous Deployment (CD) Pipeline
With the CI Pipeline in place and the virtual machine configured for the two environments - Test and Production - the next part is the CD Pipeline.
Since the CD Pipeline is going to follow the multi-stage pipeline pattern, I’ve split my pipeline into multiple yaml files.
This is the main cd_pipeline.yaml script which is the entry point for Azure DevOps.
|
|
This is the templates/variables.yml script
|
|
There are plenty of other ways that this CD pipeline could be written and the overall objective accomplished, this is the approach that I’ve seen that works and the one I’ve decided to adopt.
In my actual pipeline there are a few other variables which I haven’t included here, some are common between the two environments and others are environment specific - but I will save that for another post.
The cd_pipeline.yaml file above starts off by defining a pipeline resource:
|
|
This allows us to consume the artifacts generated and published by the CI pipeline in this pipeline. For more info see this Microsoft docs article.
The key thing to note from this snippet of yaml is that the
sourcevalue - in this case CI - My CI Pipeline - is the name of the CI Pipeline, as it appears in the DevOps Pipelines.
In the next section I’m specifying trigger: none since I only want this pipeline to run on demand, followed by specifying the vmImage using a variable $(VM_IMAGE).
The following section references the variables.yaml (above) where all the variables for the pipeline are defined.
|
|
The following section is where things start to get interesting,
|
|
Here is where the stages for the pipeline are defined, the only difference between the two stages is the value of the environmentName parameter being passed in. The advantage of following this kind of pattern is that the templates can remain generic and therefore able to be reused.
Pipeline templates
The first template is templates/deploy.yml, this template takes in the two parameters environmentName and socketServerPort, which are then subsequently passed through to the templates/deploy_socket_server.yml template.
|
|
The interesting thing to note here is that the stage and displayName are dynamically generated based off the passed in environmentName parameter value. This is a trick I learnt from a fellow engineer.
The other thing is that deploy.yml only had one job, which is also a reference to a template, it could have been inlined as a series of tasks but I like encapsulating all the logic related to deploying the socket server into its own template.
The next template is templates/deploy_socket_server.yml
|
|
Once again this template takes in the two parameters environmentName and socketServerPort.
That is followed by the jobs and underneath that I’m using the special deployment job, this is specifically recommended by Microsoft.
In YAML pipelines, we recommend that you put your deployment steps in a special type of job called a deployment job. A deployment job is a collection of steps that are run sequentially against the environment. A deployment job and a traditional job can exist in the same stage.
This job type provides a few benefits, like having explict deployment strategies (runOnce, rolling and canary).
The environmentName parameter is used to specify which Environment to use, this needs to match the environments that were configured above.
The strategy being used here is the runOnce approach, since I only have a single virtual machine that I’m deploying the socket server to.
Then follows the steps, before the steps are run the agent will download the artifacts from the pipeline specified in the top-level cd_pipeline.yml file.
- Powershell task - this task sets up some pipeline variables which will be used in the subsequent step, it uses the
##vso[task.setvariable variable=varName;]varValue"syntax - FileTransform task - this is a built in task for variable substitution on configuration files. In this case it is on the
appsettings.jsonfile, and will update any values in that file who names match a variable defined in the pipeline. - Powershell task - this task stops/updates/starts the Windows Service.
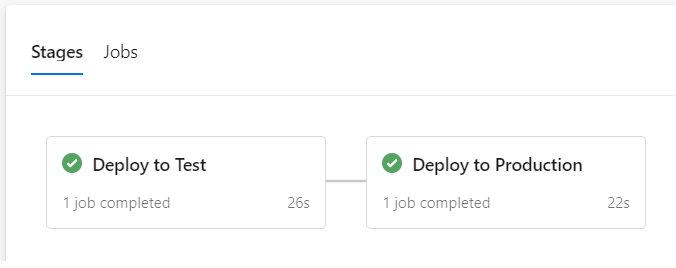
It took a while to get to it, but there it is - a Windows Service deployed to a virtual machine via Azure DevOps.
This is how our multi-stage pipeline run looks in the portal
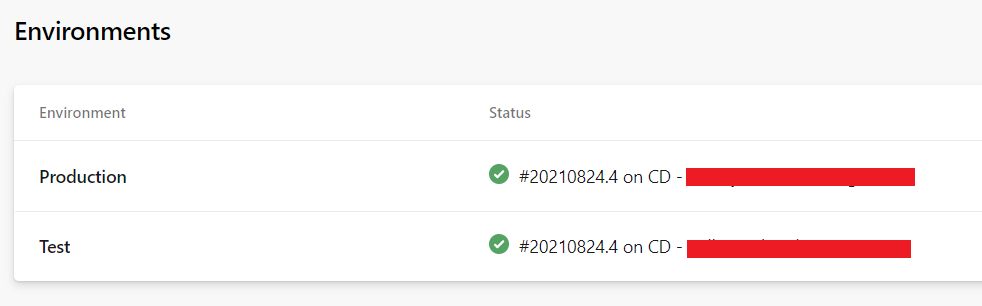
And now on the Environments page we can see the latest release for an environment.
Taking it further
There’s plenty more that could be done with this pipeline, here are a few ideas:
- Approval gates between stages - this would mean an explicit approval would be required before deploying to the Production environment
- A check to ensure that deployments to the Production environment can only occur from the
mainbranch - A pipeline parameter to enable skipping over the deployment to Production
🍪 I use Disqus for comments
Because Disqus requires cookies this site doesn't automatically load comments.
I don't mind about cookies - Show me the comments from now on (and set a cookie to remember my preference)